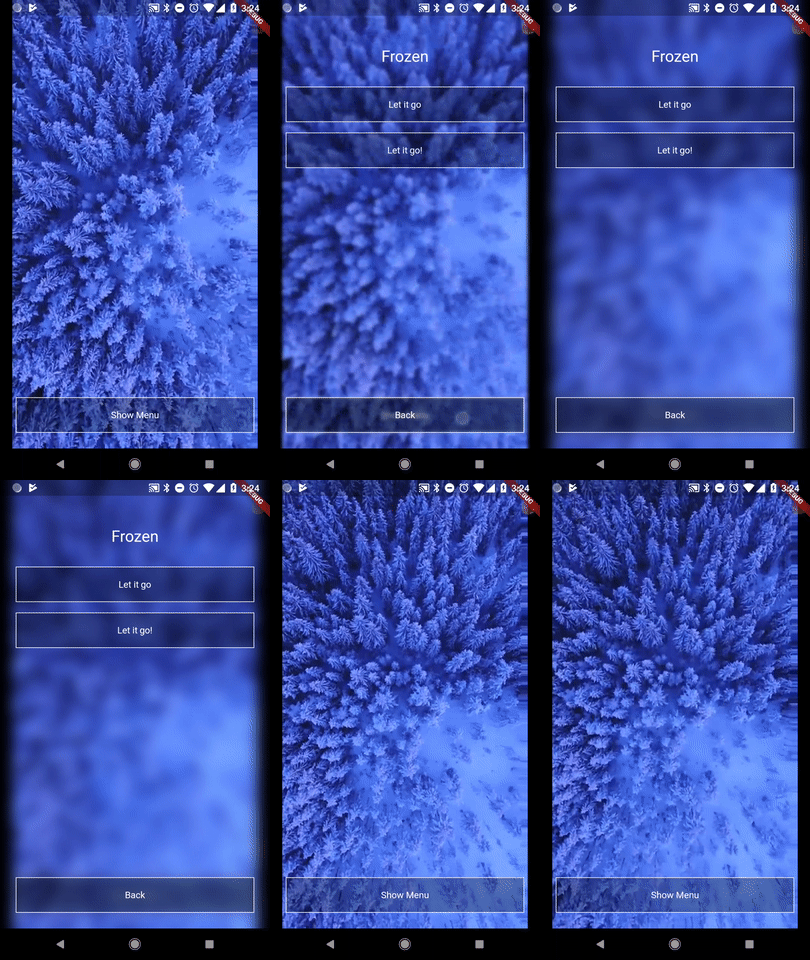
How to create a Frosted Glass blur transition
Create the blur:
Adding a Frosted Glass blur effect in Flutter is super simple, as illustrated on this post from Collin Jackson. It’s as simple as using those few lines of code:
new BackdropFilter(
    filter: new ImageFilter.blur(sigmaX: blurValue, sigmaY: blurValue),
    child: new Container(
        child: widgetToBlur,
    ),
)
This will add the blur effect on the whole widgetToBlur with a strength of blurValue.
Create the animation:
To make it into a transition, first create an AnimatedWidget:
class FrostTransition extends AnimatedWidget {
  final Widget child;
  final Animation<double> animation;

  FrostTransition({this.animation, this.child}) : super(listenable: animation);

  @override
  Widget build(BuildContext context) => new BackdropFilter(
        filter: new ImageFilter.blur(sigmaX: animation.value, sigmaY: animation.value),
        child: new Container(
          child: child,
        ),
      );
}
Now you just have to feed this widget with an animation and the child widget to blur.
Create the new page with the blur transition:
For this we will use a PopupRoute. This allows us to see the route under through a transparent background with the blur effect applied to it. This is really nice for menus!
class OverlayMenuPage extends PopupRoute<Null> {
  static const double frostAnimationStartValue = 0.0;
  static const double frostAnimationEndValue = 10.0;

  @override
  Color get barrierColor => null;

  @override
  bool get barrierDismissible => true;

  @override
  String get barrierLabel => "Close";

  @override
  Duration get transitionDuration => const Duration(milliseconds: 300);

  @override
  Widget buildTransitions(BuildContext context, Animation<double> animation, Animation<double> secondaryAnimation, Widget child) =>
        new FrostTransition(
            animation: new Tween<double>(
            begin: frostAnimationStartValue,
            end: frostAnimationEndValue,
            ).animate(animation),
            child: child,
        );

  @override
  Widget buildPage(BuildContext context, Animation<double> animation, Animation<double> secondaryAnimation) =>
      new _PageLayout();
}
Where _PageLayout is your Widget with the content of the page.
All done!
That’s it! Now you can simply summon the menu with:
Navigator.of(context).push(new OverlayMenuPage())
Get the full code:
You can get the full example (as shown on the GIF) on our Github:
